Eagle River Weather

Monday, February 13, 2012

Empty Yurts and New stuff

We are officially out of the yurt. Before we left we were treated to a northern lights display that could easily be seen from our loft out the top dome. Pretty cool.

Kaya rocking the curls and construction princess look amid the chaos of packing.

The empty yurt.

Not to worry, our yurt adventure is not over as we will be moving it to our new place this summer.
Here is a picture of Nicki going out for a late night mushing run in some really cold weather.

Here is a photo of our new place.

We love the wood interior. It is actually arranged a lot like the yurt. The master bedroom is a loft over the kitchen and looking out over the living area.

A photo taken from across the valley really shows the barn shape of the house.

A few more new things: Leo has found a new love for drawing. We can't get him to stop.

And, not even a week into moving into the new place, Nicki has a new dog.

Meet Quill, named after a run in with a porcupine. She is already proving to be a great puller as well as being super nice dog.

Wednesday, January 11, 2012

Lots of Snow

There has been a lot of snow and cold temps in Alaska lately. Leo continues his apparent imperviousness to cold by taking a nap outside at sub zero temperatures.

Lots of snow on the yurt.

The snow is piling up on the railings.

Our lamp post hads a big fluffy hat.

The dogs had to be dug out of their houses.

But, the kids were ready for it.

Monday, January 2, 2012

Pulks on the Cheap #3

In making the latest pulk, I was able to figure out the pulk to pull bar connection. It involved attaching a foot long length of metal tubing to the metal tubing of the bike trailer. This metal tubing has just a slightly larger inside diameter than the outside diameter of the pull bar. You can see it on the lower right corner of this photo.

The tubing was drilled out at the mid point and then towards the back. These holes allowed bolts to be threaded through it and the bike tubing (also drilled out by me). Locking washers help keep everything tight and together. A closer look at the connection can be seen below.

The small hole perpendicular to the ones holding the bolts was drilled out to fit a locking pin. This pin runs through the metal tubing and through holes in the ends of the pull bars. You can see the pull bars and the locking pins keeping them in place in the photo below.

The locking pin is attached to the metal tubing using a strap so it doesn't get lost. I put a grommet at one end of the strap and attached it to the tubing using a screw.
I also added a little bit of art work to the wheel saddle for a little extra flare.

So there it is. I spent less than $30 on each pulk. Things that might add to your cost is not having old skis laying around to use or not having a bike trailer. Old skis can easily be found for cheap at garage sales, thrift stores and on craigslist for less than $50. Old bike trailers can be found the same way. I don't think it is unreasonable to be able to do this project for less than $150 starting from scratch.

It's been a pretty fun project and I hope it helps people get their kiddos out in the winter time. Getting outside makes winter so much more enjoyable (and seemingly short).

Monday, December 26, 2011

From Yurts to Barns

It is with mixed feelings that I announce the end of our current yurt adventure. We are in the process of buying a house north of our current location. We are moving into a barn. OK, we are moving into a house with a cambrel roof that makes it looks like a barn. It has the same basic lay out as the yurt (open loft master bedroom over a kitchen with an open living room and utilities and garage in the basement). Oh, and room for a yurt. Sometime this summer we plan on moving the yurt to our new property and using it as a playroom/guest house/workshop. I'm going to try and post information about taking down a yurt and our new floor plans later on in the year.
But for now.....
a few photos of the things that have been going on around here in the last month since I posted.
We have had a big thaw and a couple of wind storms. One of them picked up our canoe and pitched it into the forest.

Thankfully we are back on track and filling in with snow.

Fresh tracks on a Christmas ski at the nature center.

A visiting goshawk right off of the yurt deck

Is Nicki pampering her dogs a bit too much? A pawicure, really?

They seem to like it.

Leo and Nisha buddying up.

Leo getting ready for a peewee mushing race.

Leo and Georgie crossing the finish line after Georgie going the wrong way, stopping, and Leo falling off.

The Schneider ski train (thanks for the photo Lia). Great resistance training.

Kaya showing off her usual smile.
One of Leo's many amazing lego creations.

Christmas morning.

Thursday, December 1, 2011

Pulks on the Cheap #2

So here is the completed pulk made from a bike trailer.


I bought some replacement backpack hip belts from REI. They only cost $5 and they worked great for attaching the pulk poles to. I attached grommets to the belt and then threaded bolts through the poles and hip belt to attach them.
Here is the hip belt with the grommets, the small gold circles.

I originally wanted to put the grommets through the cinch strap (black) but it proved to be too far forward. Luckily there was some additional material else where that was trickier to put grommets through but worked fine.

The usefulness of this zipped pocket was eliminated.

I used electrical conduit and bent it with a conduit bender. I drilled it out with normal drill bits and a cordless drill. When drilling metal you need to use slow speeds, and you need to start with a small bit and slowly increase the diameter of the bit as you change them out (1/16, 1/8, 3/16, 1/4). It takes awhile but it works.

Here is the attachment to the hip belt. The gold grommet is where the fabric on the hip belt will go. From left to right - locking nut, washer, pipe, washer, grommet, washer, bolt head.

After trying it out on the driveway, I found that it glides great and is pretty comfortable.

The bike trailer actually had holes and an attachment system for poles. So, on the next trailer the pole to trailer connection is going to be the big thing to figure out.

Saturday, November 19, 2011

November Snow

Life is complete again as snow is once again covering the yurt. It'd be nice to have the temperatures in the positive numbers, but hey you can't have everything.

A clear night with a full moon and new snow, excellent skiing conditions.

A day back-country skiing out at Arctic Valley yielded great views of Denali.

Who needs playdough when you have freshly fallen snow.

And, who needs to pull a sled when you have THREE dogs (Nisha is in there somewhere) to do it for you. (photo credit goes to Ted)

Happy snow play every one.

Pulks on the Cheap #1

Once the cold weather sets in it can become very difficult to get our little guys out. Chariots and Burly ski systems are great ways to bundle your kid up and take them on a ski or hike, but those systems are very expensive. Most of us, however, already have enclosed bike trailers. These bike trailers can be cheaply converted into a pulk. I haven't finished this yet, but I've done the first step which is to attach the wheels of a bike trailer to skis.

But first, here is the original inspiration and end product of this bike-trailer-into-ski-pulk project.

http://www.akskedaddle.com/2011/10/repost-and-update-ski-pulk-diy.html

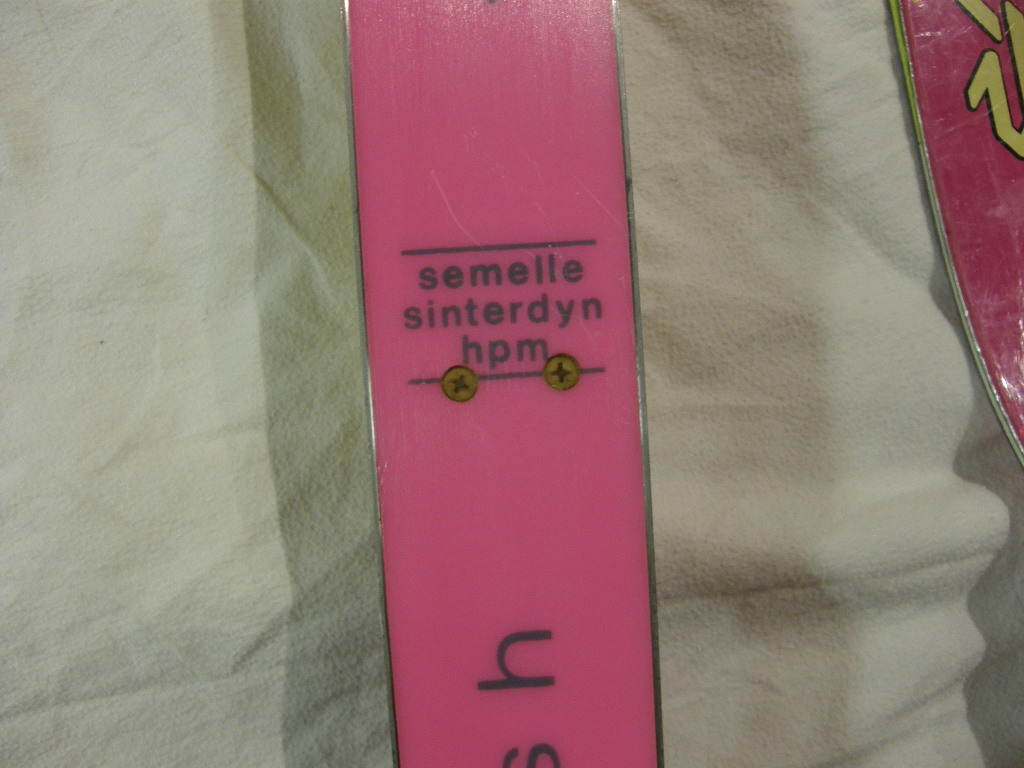
Here is what I came up with. The cradle for the wheel is a 2x4 (shaped to match the circumference of the wheel) sandwiched between 2 pieces of plywood. The skis are some old downhill skis I cut in half (Which is unfortunate because the tails had the word "RADICAL" written across them).

I drilled holes into the ski and fastened wood screws through the skis and into the wooden cradles.

I filled the holes for the screws with epoxy, sanded them flush, and then hot waxed the entire base. I used this process to attach the hardware for a split board I made a couple of years ago and the epoxy holds really well and doesn't add any drag.

I used zip ties to attach the wheel to the cradle. Here are the holes drilled through the cradle to thread the zip ties to.

Here are the zip ties threaded around the rim of the wheel and trimmed.

And the final product.

I'm helping a friend with this and I only have the wheels to her bike trailer, so I can't show you what it all looks like with the skis on the trailer. Hopefully I will get another post up soon to show how we attach the bike trailer to a person, what the entire system looks like, how it well it's working, and tips for how to keep your kiddo toasty warm inside it.